
I never met a child-proof cap I didn’t despise until I made a dispenser for salting sidewalks to avoid winter falls. But let’s start with defeating the @#$%&! child-proof caps. (Note: If you actually have kids, you probably don’t want to do this.)
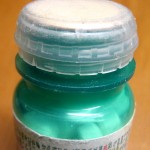
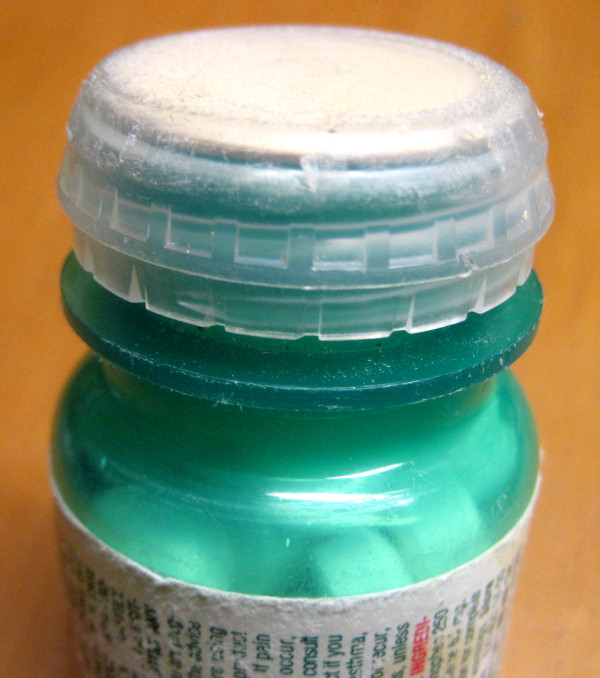
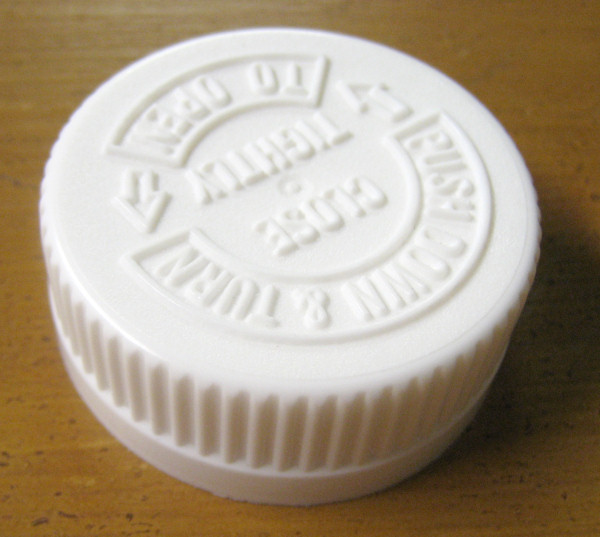
There are various designs, but many current caps consist of a loose outer cap you put your hand on and an inner, captive cap that actually screws onto the bottle.
-
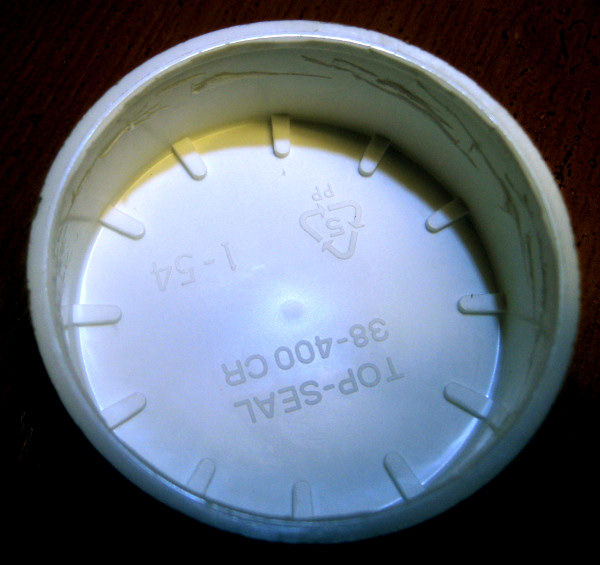
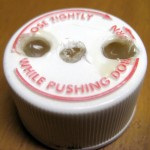
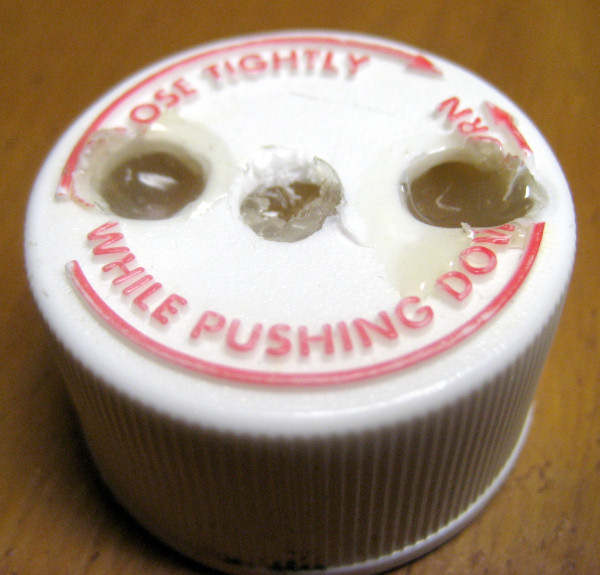
- Bumps on top of inside cap
-
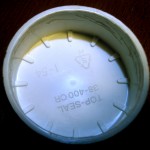
- Bumps on underside of outside cap
-
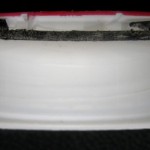
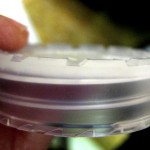
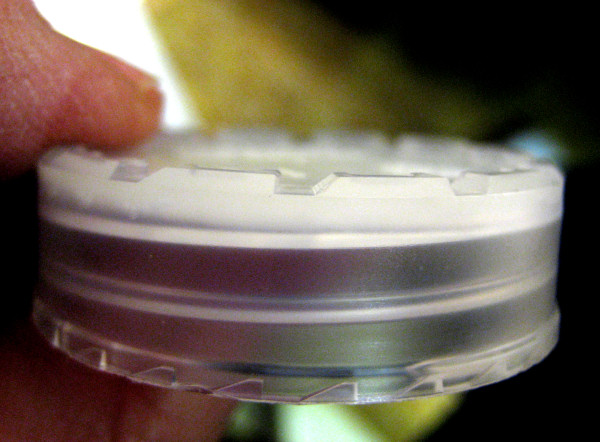
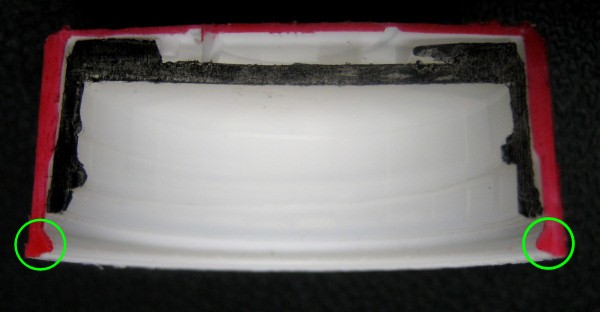
- Cross section showing lip
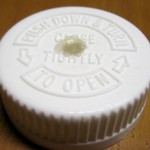
There are bumps with cleverly shaped edges (called “castellations” – think of the top of a castle tower) that interlock when you press down hard to let you unscrew the inner cap. We’ll take advantage of those as we defeat the child-proof feature.
The inner cap is kept from coming out by a lip on the inner edge of the outside cap. (Click the cross-section link – the thumbnail cuts off the good parts.) I colored the edge of the inside cap black and the outside red so you could see it better. We need to know about that to disassemble the caps.
To defeat the loosey-goosey child-proof part, we need to somehow lock the two caps together. I’ve used several methods to do this.
-
- Minimalist
-
- Version 1 – dumb

-
- Version 2 (updated V1)
-
- When elegant doesn’t matter
-
- Version 3 – invisible!
-
- V3 – lip removed

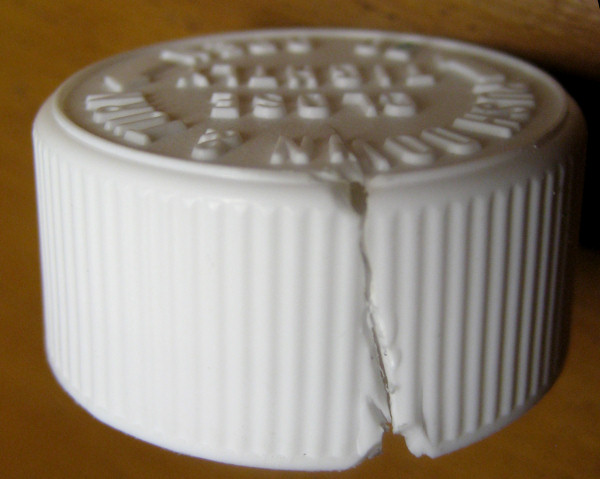
For a small travel bottle, I just removed the outside cap. That works and is compact, but doesn’t feel as nice in your hand as one with the outside part. My first attempt to lock the caps together was to drill a 1/4″ hole in the center of the outside cap (only!) and squirt hot melt glue in. Nice try, but this is the weakest possible place to put the glue. Much more effective is a couple of holes around the edge, so the glue can hook into the castellations. The one in the picture probably failed with the original center hole and had two edge holes added afterward.
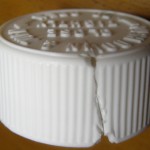
By design, the caps don’t come apart easily. But if you don’t care what it looks like, you can just make a couple of cuts through the outer cap, take it apart, squirt hot melt all over the castellations, and push the inside cap back in.
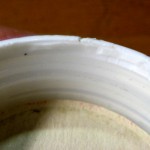
My current (“Version 3”) approach looks untouched from the outside and provides a nice-feeling solid one piece cap. The only clue that it’s been hacked (and hot melt applied inside) is on the inside bottom edge, where the lip has been cut away. So how do we take the caps apart to do this?
-
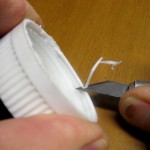
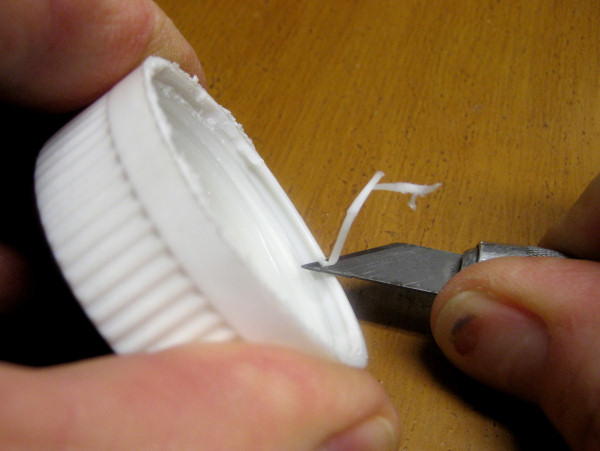
- Removing lip – Xacto
-
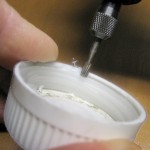
- Removing lip – Dremel

-

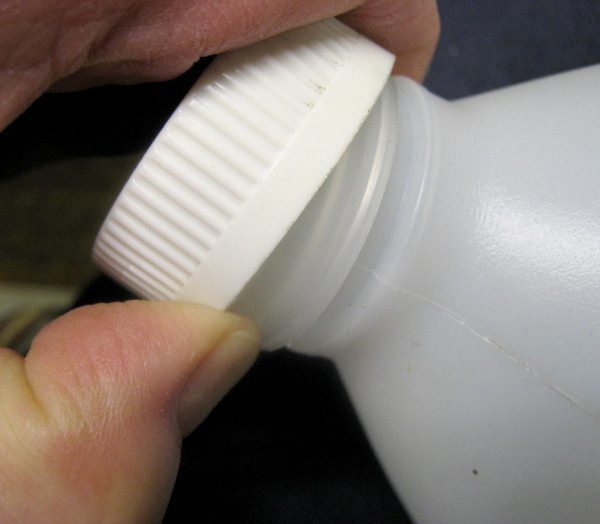
- Separating inside cap
Using a hobby knife to remove enough of the lip on the outside cap to take the caps apart isn’t too hard. Be careful – this is the kind of knife usage where you can really hurt yourself if you slip. If you prefer noisier methods that are less likely to slice your thumb off, a cutter on a Dremel works well, too.
I’m a little slow, but at least had the pleasure of a great “Aha!” experience when I was trying to get the dumb inside cap out the first time and couldn’t find a way to grab on to it. The bottle is a great tool.
I hope this helps reduce one of life’s little annoyances for you!
Pingback: Salt spreader | Jim's Projects
In stead of all these methods just get a screwdriver, cheap as possible and heat the tip just hot enough to melt the plastic then where you grind the lip of melt the inner cap to the outer cap. I do it in for places around the edge just enough to bind the two together and you can’t even see it when it off. Works for all ratchet type tops. And apart from getting the top off first time the hardest bit is letting the screwdriver cool down. Or blowing out the flame you use to heat it with.
Nice and quick and cheap – I like it! But having “fixed” many more caps since I first wrote this, it seems that with a big screwdriver or other pry tool and the cap screwed on to the bottle, you can usually just force the outer cap off past the lip without even cutting it away. And the glue gun has a dedicated home, always plugged into its own switched outlet (and a beeper to say when it’s ready!), so it’s easy to squirt some hot melt in and pop it back together. And you don’t even have to clean the screwdriver 🙂
But how do you defeat the “aligning triangles” safety cap? I swear they are perfectly matched up and the lid still won’t open! Aside from repackaging in tupperware is there another solution?
Sorry, no clues on that one. If you find anything, please feel free to comment here!
Jim