
Here are a couple of ideas for a cheap, green, effective method of reducing the danger of ice on your sidewalks.
First, the “salt”. A great material is good old “10-10-10” generic garden fertilizer. You should be able to find this in 25 lb bags in garden or home supply stores. The fertilizer salts provide some ice melting, and the other general grit provides surer footing – a double win. It’s not nearly as effective at melting ice as calcium chloride or even rock salt, but the runoff will make your grass happy instead of sad! However you spread it, this is a nearly ideal material for icy sidewalks.
(Some will promptly say “Noooo – use phosphate-free 10-0-10!” This reduces phosphate run-off that encourages undesirable growth in water systems. Sure – that will work just fine for your sidewalks too. I first learned about it when that was all I could find at Wal-Mart!)
To spread the fertilizer you need a moderate-size, easy to carry container with something that will let you control how the stuff is spread. A gallon windshield washer antifreeze jug is a good size and has a nice handle. (A milk jug is flimsier, but would do in a pinch.) Here’s how we make a flow control for it.
-
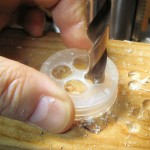
- Drilling the holes

-
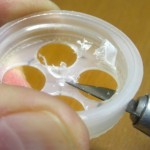
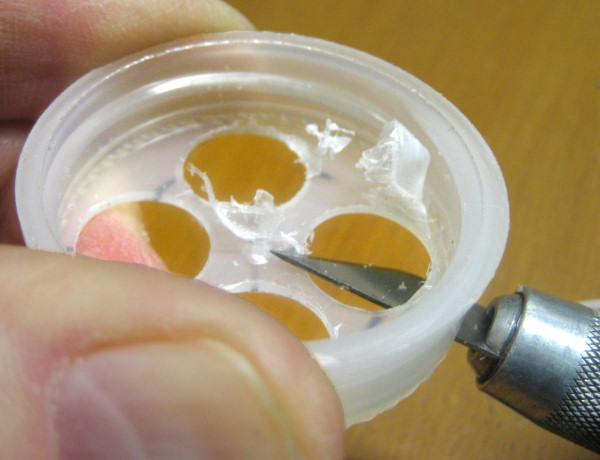
- Cleaning up the holes
-
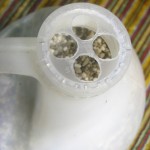
- New holey top
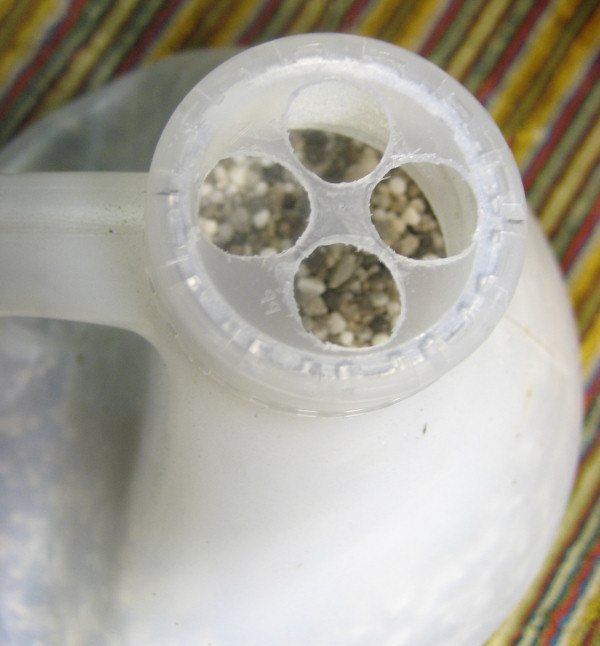
First, take the dumb child-proof cap apart, saving both the outside and inside caps. There are some notes on how to do that in the previous post. Drill 3 or 4 holes about as big as you can fit in the top of the inside cap while still leaving some webbing between the holes. I usually need to clean up the holes after drilling in the soft plastic. The right hand picture is a drilled top installed on a jug full of fertilizer. Neatness doesn’t really count – c’mon, it’s just a fertilizer spreader!
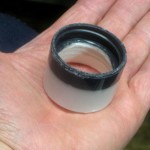
Take the outside cap and remove just enough of the lip so it slips on and off easily, with just a little “click”. Now you have a nice cover that will even keep rain out if you leave it outside. Mine lives outside the front door all winter.
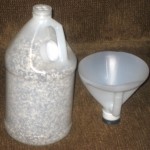
But wait – there’s more! You’re going to have to fill the jug – and probably refill it when you find how handy it is and use up all the fertilizer. For one filling, it’s not worth making a special filler. But I end up refilling mine a couple of times a winter – in the cold, when I don’t want any more hassle than necessary. Let’s make a filler funnel.
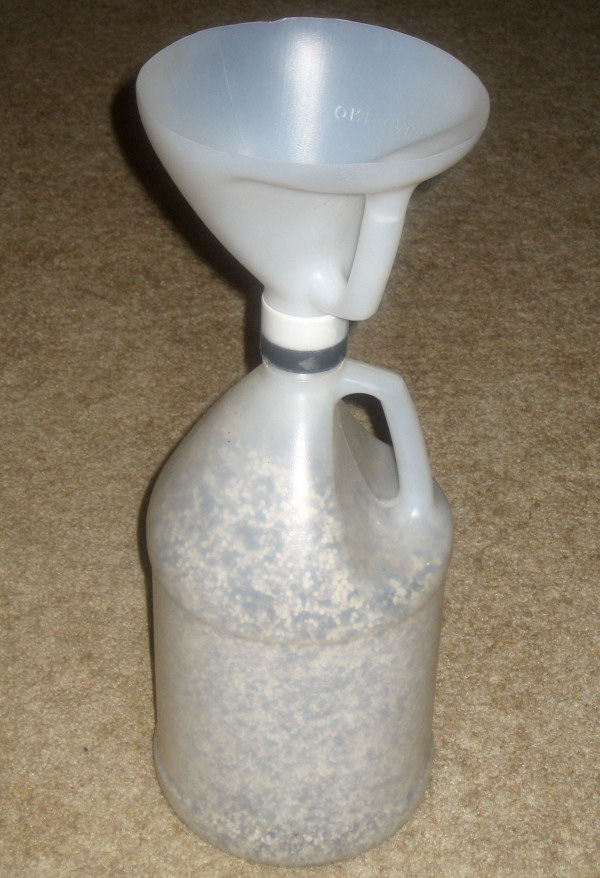
Take another empty jug and cut the top off neatly to make a funnel. Now take TWO more caps apart. (You have been saving all your old windshield washer antifreeze bottles and tops, haven’t you?) We’re only interested in the inner parts this time. Cut out most of the top of each cap, leaving maybe 3/16″ around the edge. You want enough material left to glue the tops together, but you want the hole to be as big as possible to not impede the flow of fertilizer. Now glue them together to make a “double female” adapter that will let you screw the funnel into the top of the main jug.
-
- Filler funnel connector

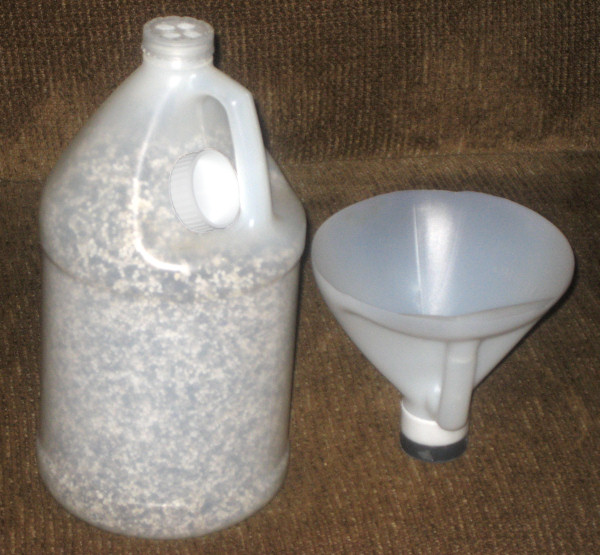
-
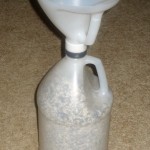
- Jug with funnel
-
- All ready to go!
Even with roughing up what’s left of the top surfaces and using epoxy, I wasn’t comfortable that the caps would stay together for years, so I epoxied a thin piece of plastic around the whole outside of both caps. (That outside band is stronger than the glue on what’s left of the top surfaces. But gluing the tops together first makes it much easier to glue the outside band on.)
Remembering that it’s really a fertilizer spreader, I often use it in the spring, too, when I’m preparing flower beds. Is that multi-purpose or what?
And for a seasonal twist, a pre-filled jug makes a great Christmas gift! OK, not for everybody, but because it’s hand made, useful and very inexpensive it’s a thoughtful gift if you’d like to do something nice for somebody but don’t want to start a gift-exchange rat race.
I’m sure you can figure out how it works. Happy “salting” and enjoy the greener edges of the grass next to the sidewalks next spring!
Update 2/5/14: Here’s a nice way to manage the bag of fertilizer for refilling the jug.
Pingback: “Sidewalk fertilizer” bag spout | Jim's Projects