
 I finished the second run of the Tiny85 class Saturday (1/25/14). It was pretty good, but as before | always there was room for improvement. I’ve been using Freemind for the official repository of ideas, todo lists, lesson plan etc, and it’s good and useful, but not perfect. (And because the file resides on the PC, the snapshot here is subject to infrequent updating.) I’m hoping this post will add some clarity.
What went well
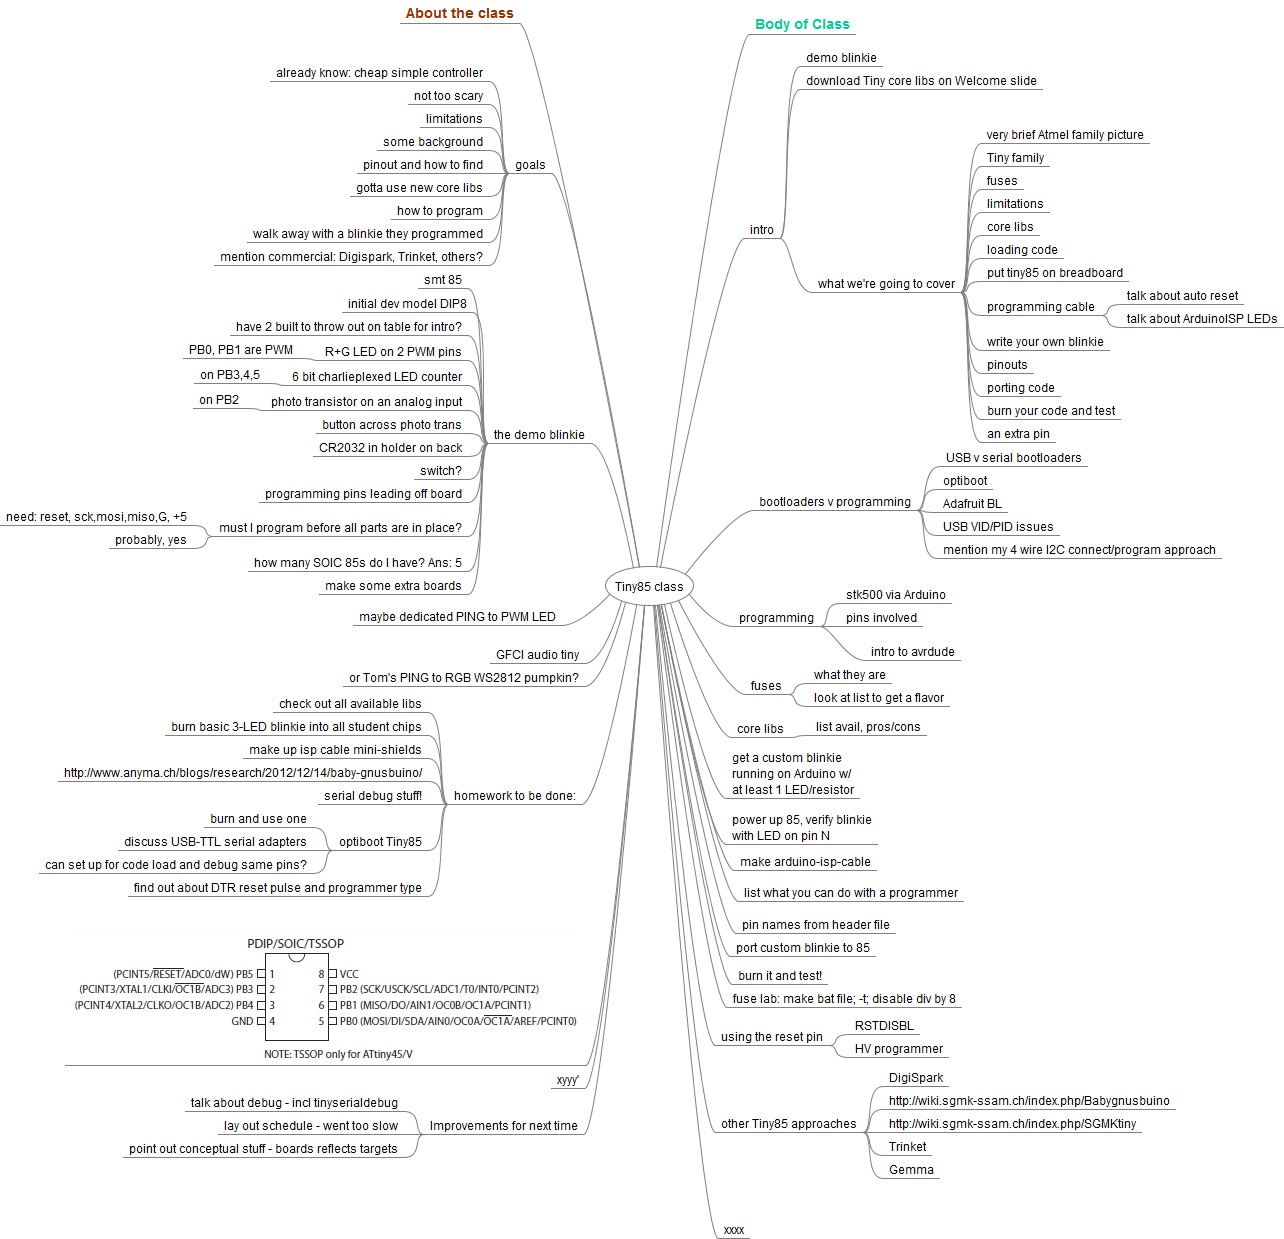
- I put slides together this time. There’s always room for more slides, but for the stuff I covered, they’re OK. Here’s a link to the latest version.
- The “Welcome” slide, which was up as they came in, instructed them to download the core libs. That worked well, but should have said to unzip the file and stash the ‘tiny’ directory where they could find it for when we’d install it later.
- The ‘lab activity’ of soldering pins and wires to the ISP shields took way too long the first time, so I pre-made them this time. Actually, it was Jacob who did a bunch of the work. (Thanks, Jacob!) The time savings in class is great; the extra work not so great.
- The blink sketch I pre-programmed into all the Tinys for the class was a sequence on physical pins 5, 6, and 7 this time. The verify-your-setup instructions were to put an LED on pin 5 and look for a blink. The blinks on the other 2 pins gave me something to add for those who got done quickly. That worked out well.
- The handout sheet I passed out this time was a very good addition. Here’s the latest version.
- I liked breaking it up with some intro, hands on fire up pre-prog blinkie and write own blinkie, more yammering about porting, programmers, etc, then actual do it lab, then more on fuses and avrdude and then lab to go to 8 MHz. The additional stuff after that is almost doomed to never be gotten to.
Improvements
- Class still ran WAY over time. Gotta tighten it up. Never even made it to fuses and avrdude!
- I made noise about not depending on some of the magic Massimo put in to hide stuff, but should have stressed more that you really need to be awake to understand who you’re talking to when select boards when you’re downloading ArduinoISP vs the code that goes on the Tiny. It’s not hard, but more conceptually challenging than noob Arduino.
- I need to make more sure the invitation says you’ll need an Arduino, a current IDE, and a breadboard, jumpers etc. And (<sigh>) they’ll need to tell me if the Arduino is a Mega so I can arrange Mega ISP shields.
- I need to make some ISP shields for Mega. I have one laid out, but haven’t tested it yet.
Update 1/29/14: Tested the Mega cable shield. Works, but ugly. Details here. - There should be better explanation of the auto-reset on download function, both for general understanding and to explain the 10uF cap and why you can’t have the shield on when you download ArduinoISP! Maybe roll in clarification of what we do to RESET on host vs target.
- On the handout sheet, the “Notes/Steps” were misconstrued as a full set of steps to follow, rather than reminders. Either make it a full set of steps, or name it better.
- Make much better distinction between serial and USB bootloaders!
- Is there another fuse bit besides RSTDISBL needed for using the RESET pin? (Or for 8MHz clock?)
- Get the dumb demo blinkie running before the next class!
- The GFCI audio, an RGB LED on a ping sensor and the dollhouse would be great additional demos.
- Maybe add very basic “what is a UART and why do I care”. Have a spiel about how to handle serial bootloaders and debug serial.
- Get around to talking about debug serial!
- Mention other core libs.
- Have a good short spiel on what’s in core libs. Not if-then, but yes millis(), delay(). What else?
- Mention that bootloader runs after reset, but not power on.
- Consider a more interesting master slide.
- Make nice reference to the Adafruit tutorials, including avrdude.
Next classes
Nothing scheduled for W88, but after I’ve fixed most of the “improvement” list, I’d seriously consider offering to run it at PS:One.
Jim, glad to be of service. I had some concerns about my soldering skills, but it sounds like those concerns were unfounded. If you are planning to run this again, at W88 or PS1, I’d be happy to heat-shrink and solder again.
Jacob, how did you get your photo to show up in the reply header?
Thanks 10e6 for doing those slides. I am just considering a tiny85 project and needed the refresher from the class you taught last year. Project is a capacitance meter based on http://wordpress.codewrite.co.uk/pic/2014/01/25/capacitance-meter-mk-ii/ will replace a meter I made long ago that is based on an NE566 VCO chip that is now Unobtanium. Got the low power LCD display working this afternoon see http://www.flickr.com/photos/wb8nbs/12194178066/
Was reading an Arduino book recently, it talked about different ways of doing a 2 LED blinky sketch. I was inspired to write this candidate for shortest sketch (9 lines):
// Minimal two LED blinky sketch inspired by "Beginning C for Arduino" page 61

// wb8nbs@gmail.com 01/26/14
const int led1 = 2;
const int led2 = 13;
boolean flag;
void setup() {}
void loop() {
digitalWrite (led1, flag);
digitalWrite (led2, flag = !flag);
delay(500);
}
Well, gee – if you’re trying to be cheap, why not just
boolean flag;

void setup() {}

void loop() {

digitalWrite (2, flag);

digitalWrite (13, flag = !flag);

delay(500);

}
and save 22%?
Oops. I guess you need to spend that savings on a couple of pinMode()s. I missed it first time, too 🙁
You’re most welcome for the slides.
Jim
Hmmm I didn’t do pinmode either. Must default to write. I was suprised that flag=!flag worked as an argument. Seen that in other places (do loops) and tried it. It does work as advertised.
Wow. We’re both half right. To my great surprise, pin 13 defaults to OUTPUT (as evidenced both by the fact that it lights and that DDRB(5) is 1). Pin 2 does not, and requires a pinMode() to drive the LED as expected. This is true in both 1.0.5 and old 0023 IDEs.
For both input cases (pin 2 default, pin 13 forced to INPUT with a pinMode()), you can see the LED blink dimly, presumably due to the digitalWrite()s turning the 20K pullup on and off.
I learn new stuff every day!
You are correct. Big difference in pin 2 LED brightness when I added pinMode(2,OUTPUT).
For the record, the pin 13 default mode spun off a thread in the W88 Google groups forum here:
https://groups.google.com/forum/?hl=en#!topic/workshop88members/QBgt1-B9_YE
Started with pin mode, quickly switched to how-few-lines-to-blink-an-LED, and morphed into discussions of robust coding practices. Strange.
Looks like you have to be signed in to view it.
Beating my head against the wall here, installing the #$@! tiny core files. I think I have it now.
This is from Ubuntu Linux.
The “tiny” folder can go either in arduino-1.0.5/hardware or in the designated sketchbook/hardware directory. (sketchbook location as set in preferences, mine is on a file server so I can access from multiple computers). I believe the second bullet in your slide 25 should say “in your arduino sketchbook/hardware directory”.
Boards.txt has to be at hardware/tiny/boards.txt, not hardware/tiny/avr/boards.txt.
This is contrary to the README file in the tiny .zip but agrees with your slide 26. however slide 26 should point out clearly that “Prospective Boards.txt” should be copied to boards.txt up one directory level. I don’t recall having this problem in your class last year, 1.0.5 may have changed the way boards.txt is handled.
Should have some tiny85s early next week to try out stuff.
The links above in “What went well” both point to the powerpoint file. Do you have the link to the handout sheet?
Oops! Link fixed. Both slides and handout have been moderately updated with your suggestions.
Thanks very much!
I’m still seeing “http://jimlaurwilliams.org/wordpress/wp-content/uploads/2014/01/Tiny85Class.ppt” in the handout link.