
Somehow the sign in front of the space got damaged and came down – not sure of the order. It lasted just about 4 years – pretty good for an experimental prototype outside in Chicago winters and summers. I recovered the beat up carcass and since we still need a sign, did a quick and dirty makeover. We really need a more permanent sign, though!
 Post mortem
The sign was originally a test of potential outdoor sign-making techniques. With the dead sign in my hands, the first job was looking at how it had fared. The old project notes did their job admirably, reminding me of lots of details and decisions in the original build. In no special order…
- The 0.004″ aluminum foil pan top channel did very well. An initial fear that the sign would look silly without having it go all the way around was
 just, silly. The channel stuck very well and apparently did its jobs of keeping water out and holding the panels’ top edges down very well, too.
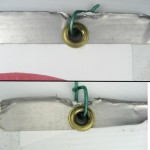
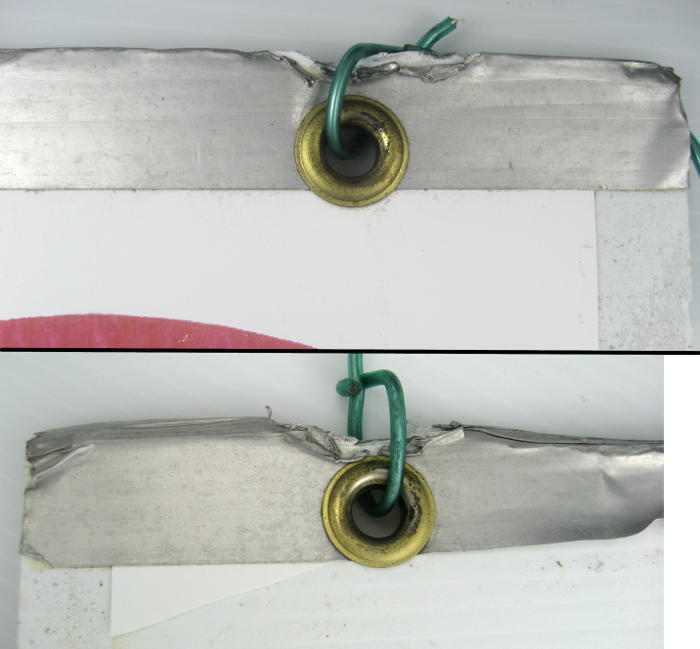
 - The grommets were in fact brass rather than brass plated steel. They held up very well and the panels showed no signs of leakage/drip stains below them. Whatever had beaten it up over those years didn’t manage to rip out the grommet/aluminum/embedded wire hanger.
- I kind of suspect the vinyl coated (steel) wire hangers failed and that’s how the sign came down.
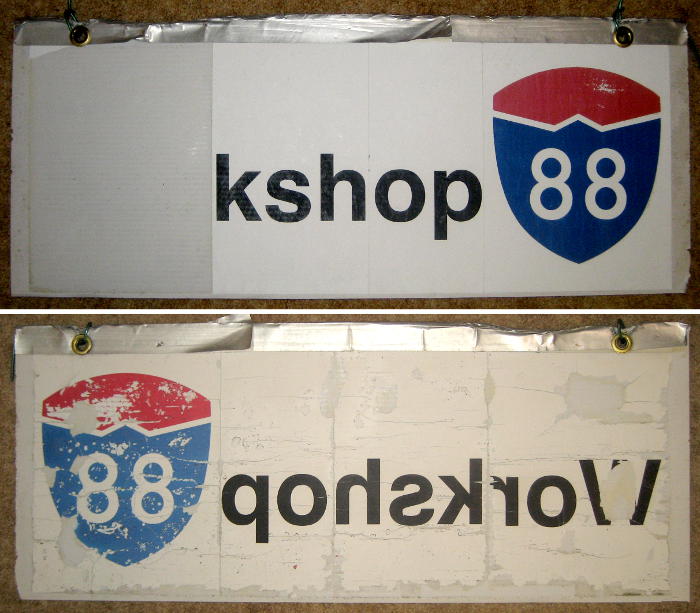
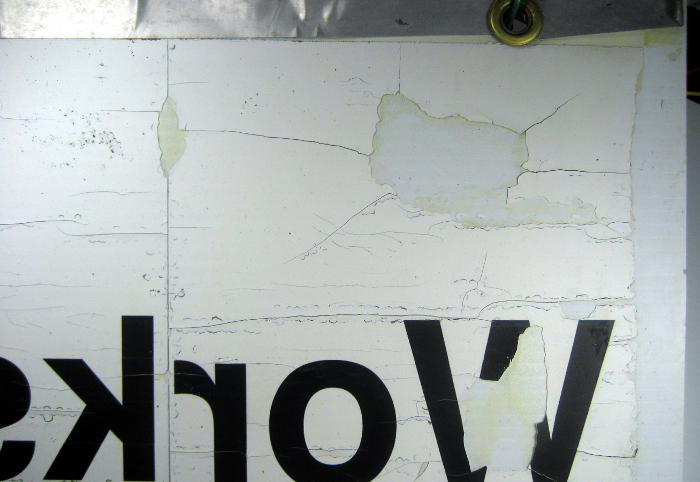
- The “Adventure paper” on the back didn’t do so well. At the time of coming down, it had become rather brittle, and
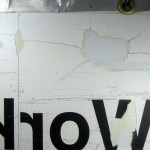 cracked off in largeish pieces. I tried to scrape it all off, but despite the cracking, most of it was still pretty well stuck on. I got some loose edges off, but that was about it. It will look pretty bad on the refurbished sign, but it’s in the back and few visitors will see it. Apologies to the others who live on that side of the sign…
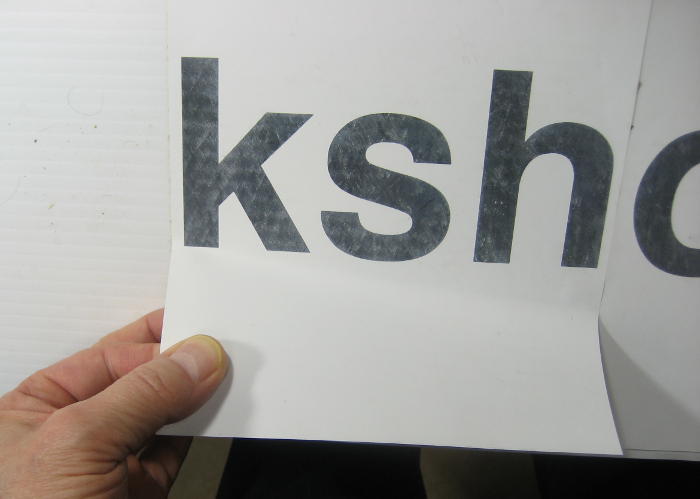
 - The HP waterproof laser “tough paper” held up very well. Somehow one panel had come off by the time I got it, but I had to work a
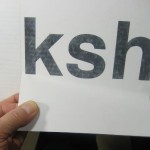
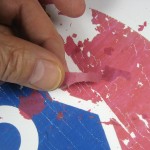 little bit to peel the others off. Each of the remaining panels came off completely intact. The black toner was visibly faded, but more interesting was that the red toner peeled off in chunks – though only as the (now removed) paper was bent. I expect it would have held out for another year or two still stuck to its backing.

Patching it up
Since it’s (again) only a temporary sign, I figured just a decent looking front side would do. I’d like to keep the job simple, and I don’t have any more of the brass grommets, so I decided to just make a new front on the old sign. Yeah, the top will look crummy.
I don’t have a color laser printer at home, and I wanted to get the sign ready to put up on Thursday. I could have printed on the Adventure paper with my inkjet, but after seeing how it fared and rereading the notes here, I gave up on having the sign for this Thursday in favor of using the nice HP stock and having Lauren laser print the panels at work. (If only I hadn’t dawdled so much and started on this project just a day earlier, I could have had the sign done for Thursday. Oh well, at least I’m consistent…)
I’m sure I can strip the old adhesive off pretty well, and the 3M Super 77 spray adhesive has proven itself for this application, so I’ll use that again. I can peel up the aluminum channel, and presumably glue it back down. It’s pretty beat up, but from the distance people see the sign, it won’t be too bad. Its 1/4″ overlap of the top of the panels seems to have worked out pretty well, and I should be able to do that again.
 The problem is at the grommets. They hold the aluminum down such that I can’t peel it back to get the tops of the panels under the aluminum right there. They were clearly put in after the panel and aluminum were glued down. It’s only a problem for an inch or so, but that inch robs the end panels of their nice water shield. Not sure what to do about that yet. Do I undercut the grommet just so I can slide the panel under the aluminum? And if so, how do I slide it in place with contact cement on both pieces?
To my amazement, I couldn’t find the files I’d printed the original panels from. It’s not like me to not save files, even for a ‘temporary’ project like the sign. I found a similar jpeg in the dropbox, but on looking closely, the font was considerably heavier – and so not quite as legible from a distance – as whatever was on the old sign. I ended up creating a Word doc with a page for each of the 4 panels, with the text in 291pt bold Arial. It’s not identical to the old sign, but very close. I saved the file this time. 🙂
(next day) The laser printed copies on the HP “paper” look fine. Based on my earlier reports of success taping all the panels into one big piece for the slightly scary you-only-get-one-chance application to the contact cement, I’ll try that again.
Final assembly
Debbie, a visitor from AISE, an Innovation Centre in Arusha, Tanzania planned to stop by to see the space  Friday morning, so I gathered up all the parts and planned to do the final assembly at the space so I could be there to show her around.
After trimming the panels so the letters were spaced appropriately, I taped them up into one piece. I notched the big panel for the grommets and bent the bottoms of the grommets up so I could scootch the panels under them. That was a big help.
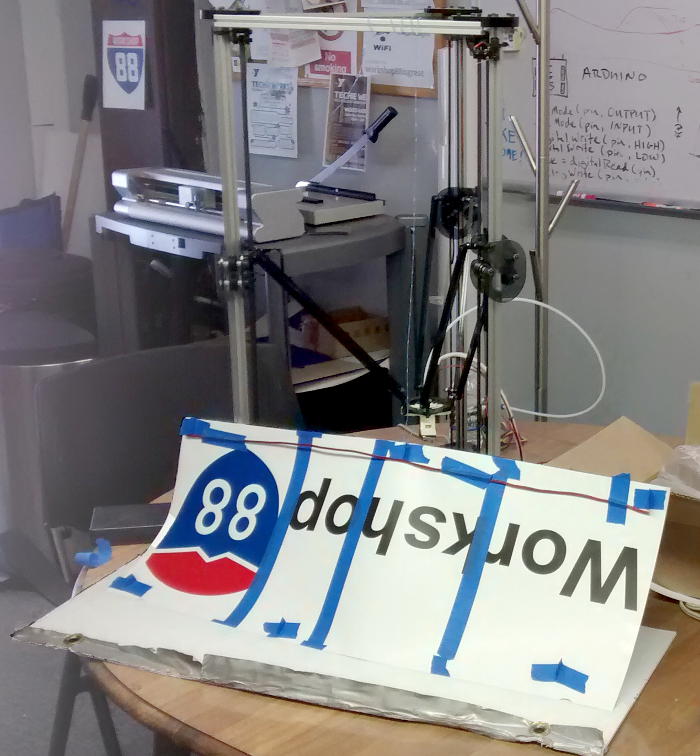 Unfortunately, Debbie couldn’t make it, so I was without the extra pair of hands needed to handle the large panel. I used the Kossel 3D printer as a skyhook to hold the back half of the glued up panel safely in the air while I carefully aligned the front edge. A couple of dry runs were, as always, very helpful. Since getting the panels under the grommets – only ~1/8″ clearance – would be the tricky part, I chose to do that edge first.
 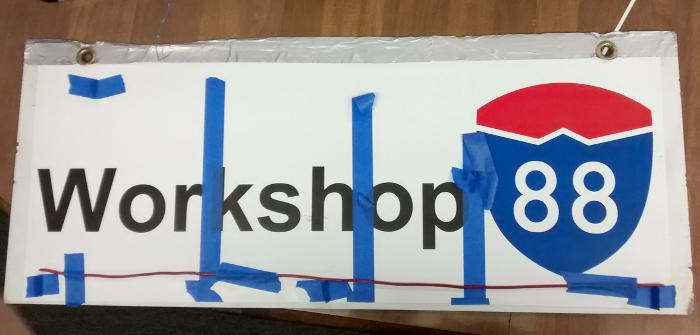 While not without a hitch, the approach worked, and the panel was applied with no visible wrinkles or bubbles. Here it is immediately after it got stuck down.
After pulling the blue tape off, I burnished the panels down aggressively. With no clear spray overcoat, I hope the seams stay sealed well enough. While I was only marginally successful beating the grommets back into shape, the working space having them lifted provided was worth having them end up not well seated. I bent the aluminum channel down as best I could to seal over the top edges of the panels. Unfortunately, it’s completely worn away above the grommets.
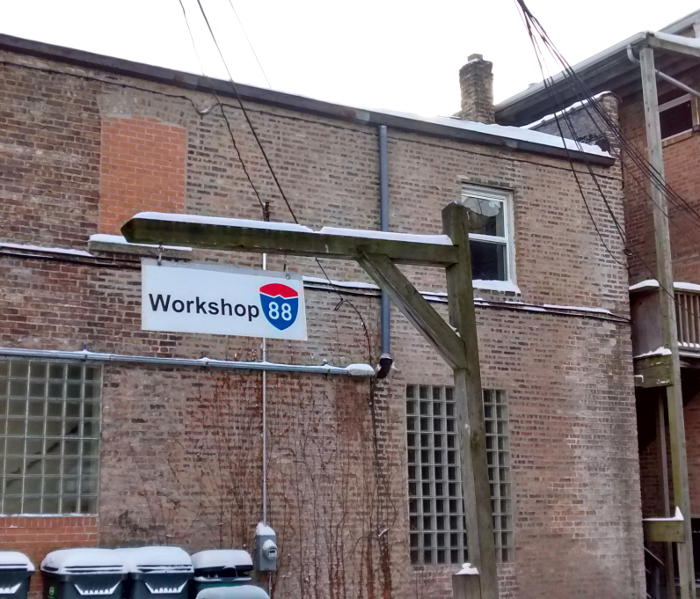
I made up some oval split O rings from the nice heavy 7 ga steel wire to hang the sign from the eyebolts in the sign hanger outside. Those should hold up a lot better than the green vinyl covered 12 ga wire that apparently failed with a stress crack after only 4 years. 🙂
Clambering up on the ice covered plastic top of the dumpster under the signpost to hang the sign with no spotter was arguably dumb, but I got away with it. (To my credit, I was actively evaluating my footing when I got up the first time to remove the remains of the old green wire. If that attempt were scary, I claim I would have passed on the second trip up to hang the sign and use lineman’s pliers to close those heavy duty O rings.)
Jan 2015
Jan 2011
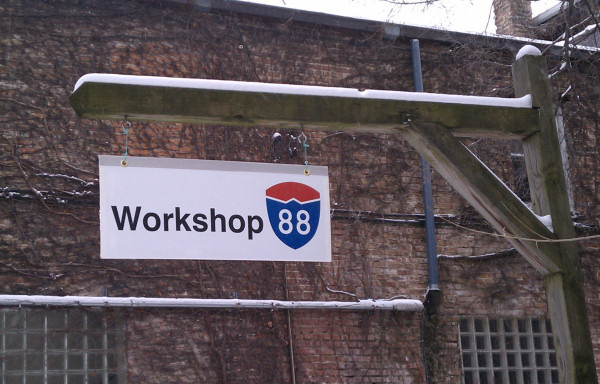
From the front, it looks a lot like the old one. The back’s really ugly. But it’s up and done!