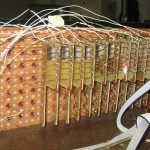
 We have 6 more (working!) boards in the display. The goals were to see whether it looked good enough to continue the project and to get scrolling code working a little better. Made only partial progress on both.
I tested each board before installing any, and then tested the whole display after installing each one to avoid hassles of trying to fix/remove a board in the middle. Unfortunately, my netbook battery died after the 10th board, so I couldn’t touch up the code to address more columns, so the last 2 tests were using the column clock from the wrong column just to see if they worked. I could never see all 12 columns actually working to try to make a decision about pulling the plug.
Andrew and I argued through the code a lot, but while we improved it, we could never make it scroll correctly for arbitrary numbers of columns of pixel data and physical columns of LEDs. It was OK for some numerically related counts. That’s still a mystery.
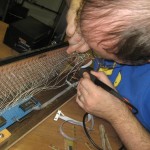 Andrew installed the first board. I installed the rest after he left, since I didn’t have to go to work the next day.
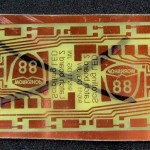 There was an oops making the last pair of boards. I had a whole cleanly etched board before I realized I’d put the artwork on upside down. Nobody to blame but myself. Hate when that happens. I’ll keep the board to remind myself to not screw up. Fortunately I had enough time to redo the pair.
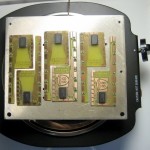 I reflowed all 6 boards at once – the most I’d done at one time. Since they all become ready at just about the same time and it takes a little time to slide each one off the plate, that’s too many to manage at once. Temperature of the plate continues going up after the solder melts, so it’s critical to get them off as soon as they’ve reflowed.
I bumped the chip on one while trying to hussle them all off. I had the presence of mind to then bump it far enough off that it was sitting on bare board so it would be easier to remove to fix.
Having gotten all 6 off the plate (though the last ones were discolored from having stayed on too long) I decided as long as the board and the plate were still very hot I’d try to rework the bumped chip on the hotplate. I used a large tweezers to pick it up and relocate it, and it seems to have worked out OK. That was an interesting exercise. Much better is to not mess up in the first place, but rework on the plate seems to be a workable approach.
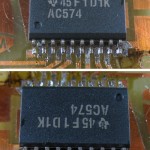 As I examined the boards later to clean up solder bridges etc, I found that another board had had its chip disturbed. One side was slightly less than 1/2 pin off, and might have worked. The other side was more than 1/2 pin off and so actually connected to the wrong places. Using solder wick to heat all the pins on one side at a time and a knife blade under the chip I managed to lift one side. The second side was easier. I resoldered it by hand without incident. Despite concerns of overheating both in this resoldering effort and from leaving boards on the plate too long, all 6 boards/chips survived and work OK.
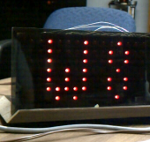 Update 3/23/12: After lots of analysis, testing and code review, Dan, Karl and I got the display scrolling without artifacts. Main problem was which edge the latches latched on. The logic was flawed, and the latching edge (lo->hi) occurred one column step off. Anyway, the code works now, though only if the number of columns of data is > number of physical columns of LEDs.
It’s not perfect, and one LED – about 3rd from bottom, about 10th col from left – occasionally fails to latch right. But it’s pretty good. There’s lots of work ahead, but I guess I’ll continue. I hope to get some help with the grunt assembly. As Karl 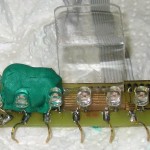 very appropriately suggested, I should ask for the help so people know I’d like it.
The latch board tester has been improved (I hope!) with some Sugru as a place to push on to make contact.

hi jim did u placed any black color glass infront of the LED display, if so that will reduce the brightness of the display. Even though its look brighter–means your display is highly qualified.