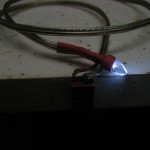
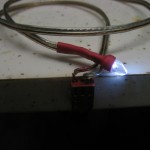
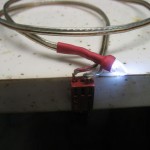
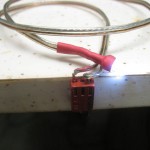
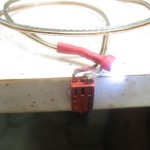
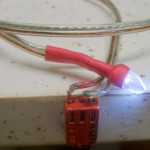
After I suffered a couple of the standard dismal failures anyone trying to photograph lit LEDs encounters, Google quickly provided the relevant buzz term: High Dynamic Range. Initial browsing showed lots of pretty pictures, but to the inexperienced eye they failed to communicate the real message: It is nearly impossible to actually take these pictures without special techniques. But after I played with it a little I understood how much these techniques could improve technical photos I wanted to take.
I don’t understand much (anything!?) about how the software merges the multiple bracketed exposures, using the “right” parts of each to produce a result that approximates what our wonderfully HDR eyes see, but by feeding a couple of exposures to freeware picturenaut and clicking a couple of buttons, I got dramatically better images than any single exposure could provide.
Here’s one example. I took 5 exposures, one stop apart. (Oops – am I showing my age? I suppose I should say “one EV apart”.) The nice picture at the end is the result.
All I did was “Generate HDR Image”, add files, enter the bias (since I wasn’t using a bracketing feature on the camera to provide that info in the EXIF data), and click OK, keeping all the defaults. Then I used “Dynamic compression” in “bilateral” mode. There are lots more knobs to turn, but even the defaults produce impressive results.
I’m glad to have this new tool in my arsenal. I even made a Paypal donation. Putting a button for that on a freeware site is a great idea.

