I had to go back to Ammonium Persulfate for the last of the Educube IR boards. Etching was slow to very slow with the CuCl2 and results were poor. There was substantial undercutting of traces around the edges. That was at least in part due to the slow etching. The first board – with H2O2 as the oxidizer – came out fine.
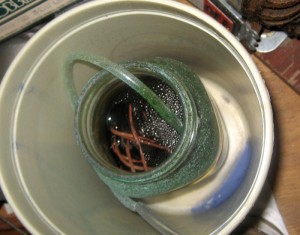
But I haven’t quite given up. I’ve put some stranded copper wire in the jar and just left the air pump bubbling. So far I’ve added about 86g of wire (cleverly weighing it before I put it in so I’d have some clue what the copper concentration was). With optimum Cu++ concentration of 120-170g/l, with the maybe 0.6 liters I have, I should be in good shape if/when the wire all dissolves.
This etchant is very dark now. The nice light green from the beginning was nothing like what the ‘real’ stuff looks like.
I’m really disappointed – mostly in myself, I guess – for not reading enough about this etchant. Proponents start users down the garden path with HCl and H2O2 and deliver a nice fast initial etch, and pretty green etchant. But when you read the details, there’s no way you’re going to get real CuCl2 etchant by etching the onesy-twosey boards most hobbyists do. Sure, you can add H2O2 as oxidizer, but it’s very short-lived and it just waters the solution down. If I were going to do that, I’d certainly for go for the 30% stuff (which I haven’t found yet) to reduce the watering-down.
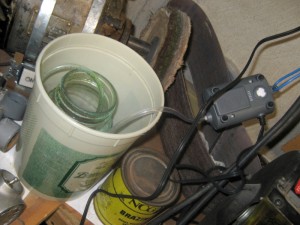
But I have some hopes for my batch. It’s just sitting in a corner, bubbling away, hopefully eating all the wire I’ve put in. When it does, I’ll certainly give it another try. There are always more boards to etch 🙂


