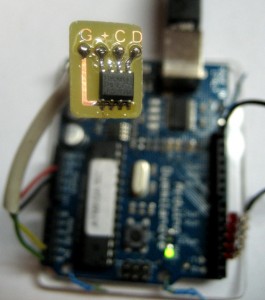
My order of ten 64Kbyte 24C512 I2C eeprom chips from China arrived. They’re SOIC (small outline IC) rather than the more traditional 0.1″x0.3″ DIP package, and the part number on the chip was unrelated to 24C512 and I couldn’t find it anywhere. To be confident that it really was the right part, I made up a little breakout board hard wired for address zero, with wires for ground, power, clock, and data. A bit of telephone station wire connected it to the Arduino for a test.
I found a library to talk to I2C eeproms (bless the open source community!) and after connecting clock and data to analog pins 4 & 5 (?) and a little playing verified that it worked.
I laid out a place for an eeprom on the discharger board, but on reflection maybe didn’t need to. It was so the board could store cell voltages while a battery was self-discharging (no external load) for a couple of weeks without hogging a computer for all that time. But you can get about as useful info by fully charging the battery, leaving it on the shelf for 2 weeks (or whatever) and doing a normal discharge test on it. The cells that have wasted their energy in self-discharge will fail sooner than the others. Actually, doing that might be a sufficient single test: You need to know which cells are bad, but it doesn’t matter much whether they’re full capacity but self-discharge quickly or don’t self-discharge but just have low capacity. Only in true over-engineered style would you need to know the details of the cell’s shortcomings. But we do have that capability, just in case. (You can see a very small daughterboard on the discharger to adapt the SOIC package to the DIP layout I unfortunately used on the board.)

