
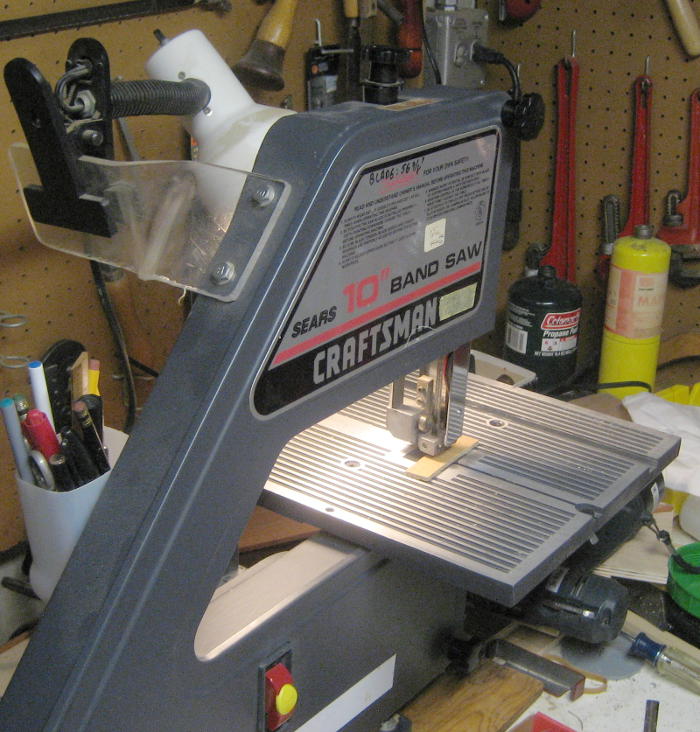
 The bandsaw has needed a light since day 1 (which was a long time ago). I did a quick and dirty – and not very effective – hack with a clamp-on lamp, but it was behind the saw, and didn’t illuminate where the blade was cutting. I finally got around to making a good light.
There’s just enough clearance behind the blade guard for a couple of LEDs. While I’d generally shy away from battery powered lights for a permanent tool like this, Li-ion 18650s from old laptops pack a lot of energy, don’t suffer much self-discharge, and will run a white LED, so they’re OK for a low-duty cycle use like this. With 3 LEDs for 60 mA max, even if the used 2000 mA-hr cell was down to say 600 mA-hr, that’s still 10 hours of operation. That’ll do.
I fretted about a constant current source for a while, but finally gave in to 47Ω resistors. They give barely over 20 mA for a white LED with the cell hot off the charger, and still nice and bright near the end of the cell life. And it’s quick and easy. 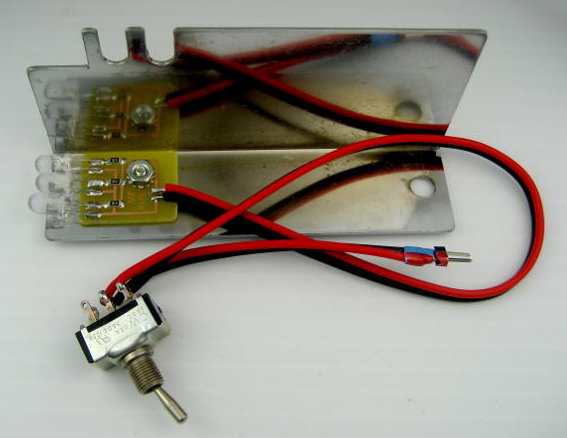 I made up a little PCB for 3 LEDs and resistors, and fitted it into the blade guard. But how to hold the 18650 cell?
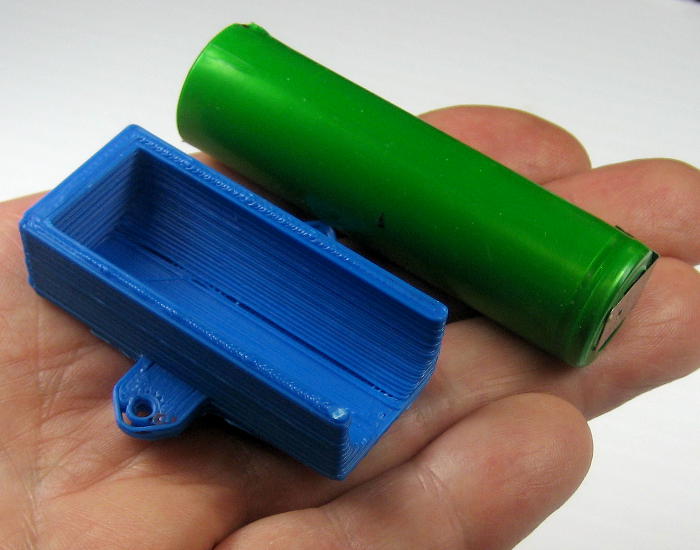 The W88 Cupcake 3D printer happened to be at the house (finishing up some prints for the Addison library gig), so I went for a printed holder. I did the design in tinkercad (don’t say it) in maybe 20 minutes. To my delight, it actually printed first try without the printer jamming.
 Even though all I wanted was a stub to keep the cell from sliding out (it was to be mounted vertically), I made the end full height to give the extruder a path between the sides to avoid a lot of strings. I figured I could cut it down with a hacksaw after it was done. Unfortunately, one side cracked as I sawed.
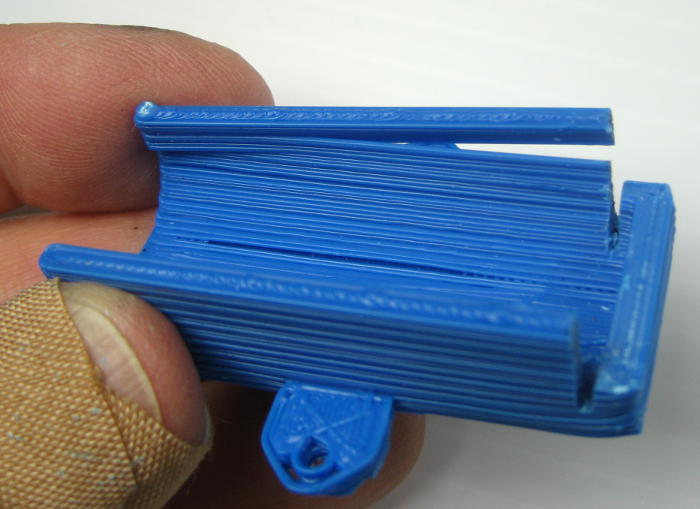
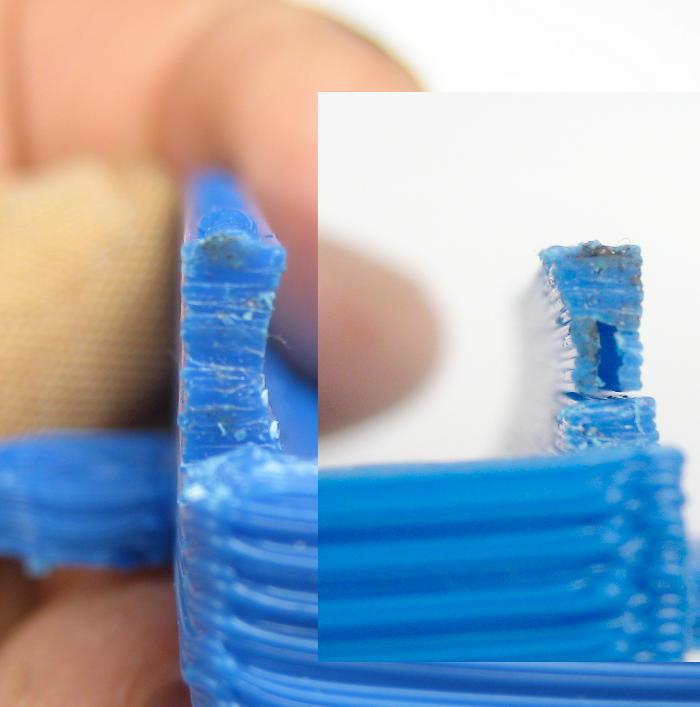 From an end view, it looks like the slicer was able to fill the center of one side, but left the other hollow. Of course it was the hollow one that broke. I wasn’t very confident, but epoxied the broken side back together. It didn’t hold against the stress of putting the cell in. Nice try, no cigar. But there’s always zip ties 🙂
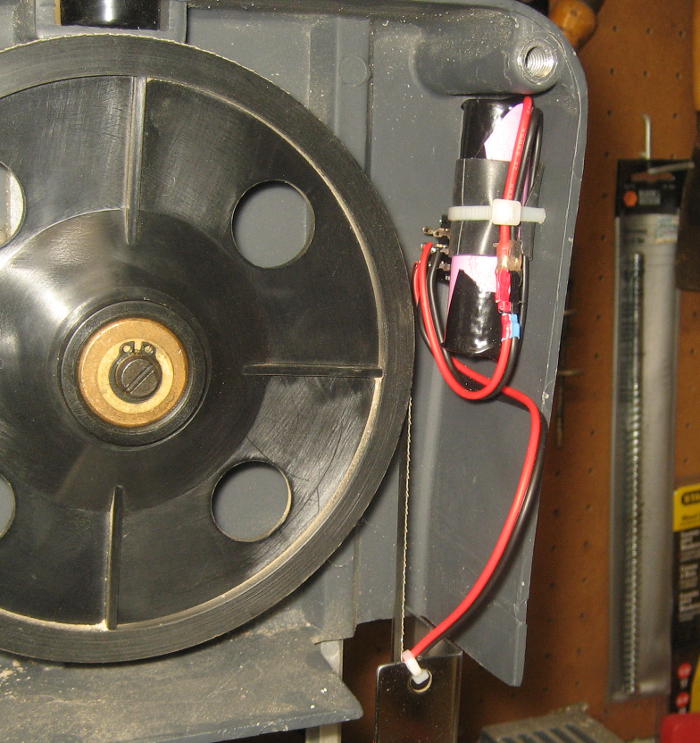 While cruder than I wanted, a zip tie (and some inner tube rubber) holds the cell in place quite well. It has my standard 0.1″ female header so I can disconnect and charge it. I’ll decide in a year or 2 when I have to recharge it whether I’ll haul the charger to the saw or replace the zip tie. (The wires don’t come close to the wheel, despite appearances here.)
 Here’s how it looks from the saw operator’s point of view. It’s just about
 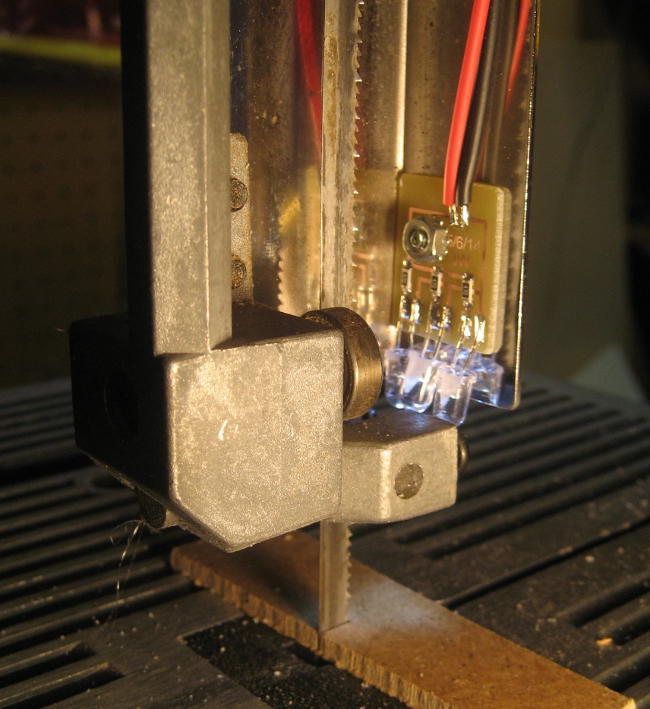 perfect! From the back it looks kind of unprotected, but there’s really not much happening where it’s mounted, so I think it will be fine.
Here’s the switch (and the slightly 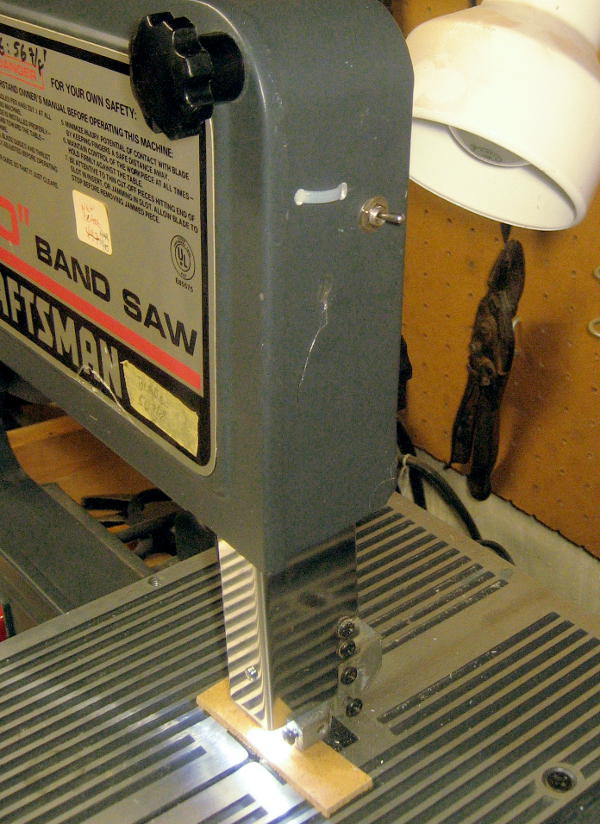 embarrassing zip tie). It’s easy to reach, provides great light, and it’s done! This is another one of those little things that keeps providing a little bit of delight every time I’ll use it. Inspired by this, I think I’m going to replace that old clamp-on lamp on the drill press with some cleverly located LEDs next!
Last year Ikea had these on sale at half price:
http://www.ikea.com/us/en/catalog/products/20169658/
I bought two. One is on my woodworking bench, the other has the heavy base replaced with a bit of plywood which has a couple of hard drive magnets inset. it will stick most anywhere on my bandsaw, tablesaw, jigsaw or drill press. Have found it quite useful. Flexible neck, and the lamp is small enough that doesn’t block your view of the saw.